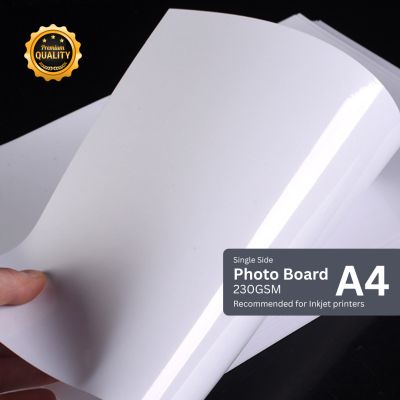




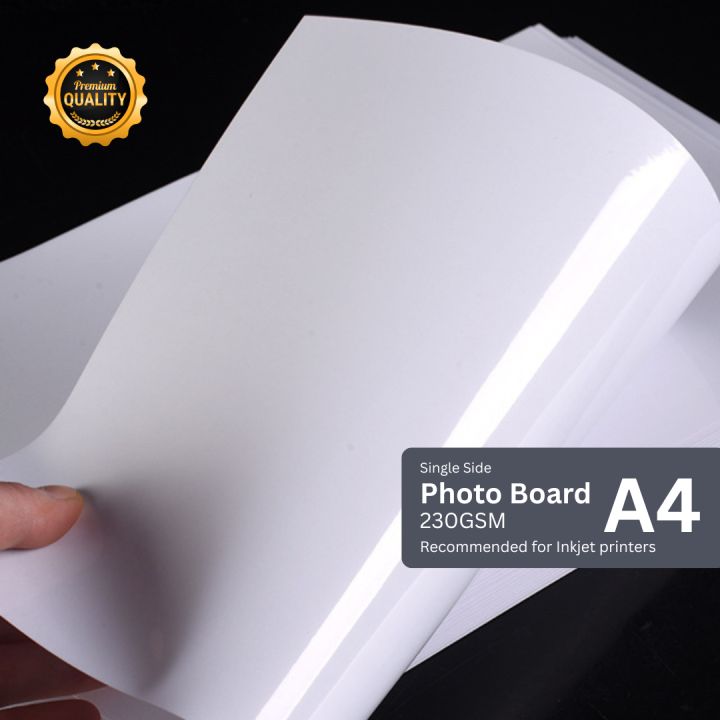
You don't need a studio to print good photos. A normal inkjet printer and the right glossy photo board can produce bright, sharp prints for baby albums, travel memories and passport or ID photos.
1. Use photo paper made for inkjet
Glossy inkjet photo boards have a coating that holds ink on the surface instead of letting it soak in. That's what gives deep colours and a shiny finish. Plain paper will look dull and blurry by comparison.
2. Load it the right way up
Print on the shiny, coated side. Most printers print on the side facing up in a rear tray, or facing down in a front cassette — check the small diagram on your tray.
3. Change three print settings
- Paper type: choose “Glossy photo paper” (or the closest match).
- Quality: set to “High” or “Best”.
- Size: pick A4, then arrange several 4R or passport-size photos on one page to save paper.
4. Let it dry
Leave prints face-up for at least 10–15 minutes before stacking or touching them. Fingerprints on wet ink are permanent.
Make it extra special
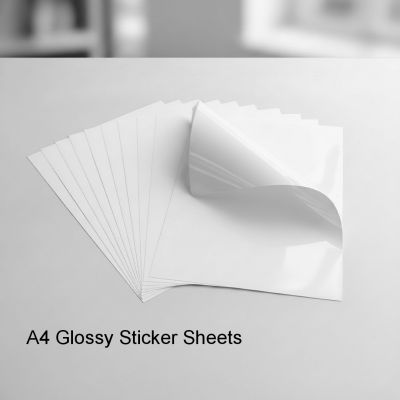
Print labels and stickers for photo albums on glossy sticker paper, or mount your favourite print on a thick white art board for a simple frame-free display.